Rental LED displays have become the preferred visual solution for concerts, exhibitions, corporate events, trade shows, conferences, and live broadcasts. Their modular design, lightweight structure, and quick assembly features make them ideal for temporary installations. However, proper installation is essential to ensure safety, performance, and a flawless visual experience.
In this guide, we will walk you through the complete process of installing a rental LED display, from preparation to final testing.
What Is a Rental LED Display?
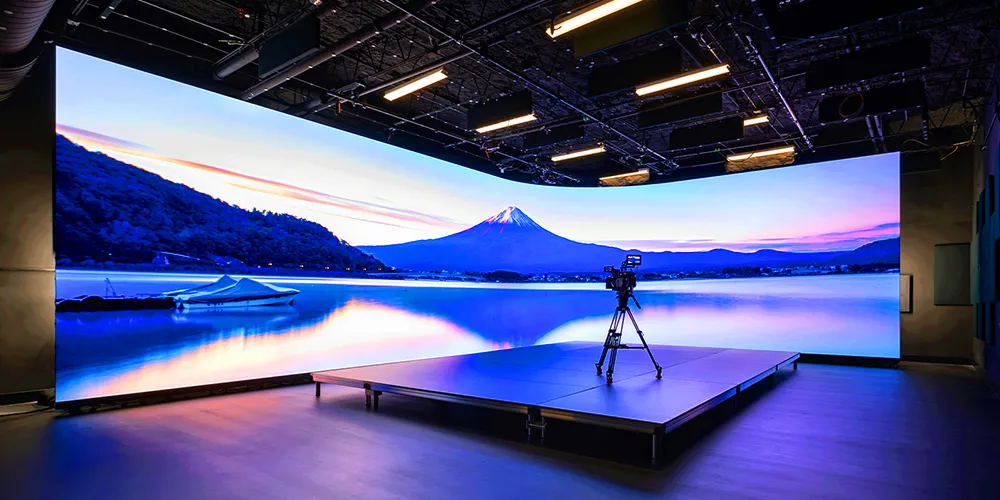
A rental LED display is a modular LED screen specifically designed for temporary events and fast deployment. Unlike fixed LED displays, rental LED panels feature quick-lock systems, lightweight cabinets, and easy maintenance, allowing technicians to assemble and dismantle the screen efficiently.
These displays are widely used for:
- Concerts and music festivals
- Corporate meetings and conferences
- Trade shows and exhibitions
- Sports events
- Wedding ceremonies
- Stage performances
- Product launches

Preparation Before Installation
Before starting the installation, ensure that all necessary equipment and accessories are available.
Required Equipment
- Rental LED cabinets
- Power cables
- Signal cables
- LED video processor
- Sending card and receiving cards
- Hanging bars or ground support structure
- Flight cases
- Safety ropes and accessories
- Tools for assembly and adjustment
Site Inspection
Conduct a thorough inspection of the installation site:
- Verify floor load-bearing capacity.
- Check power supply availability and voltage stability.
- Confirm installation dimensions.
- Evaluate environmental conditions such as wind, rain, and temperature.
- Ensure adequate space for maintenance and operation.
Proper planning helps prevent installation delays and safety risks.

Step 1: Build the Support Structure
The first step is setting up the support system that will hold the LED display.
Hanging Installation
For stage events and concerts, hanging installation is commonly used.
- Install the truss system securely.
- Attach the hanging beam to the truss.
- Verify load capacity according to screen size and weight.
- Secure all safety connections before lifting.
Ground Support Installation
For exhibitions and indoor events, ground stacking may be preferred.
- Assemble the base support.
- Install vertical columns.
- Level the structure carefully.
- Confirm overall stability before mounting LED cabinets.
Safety should always be the top priority during this stage.
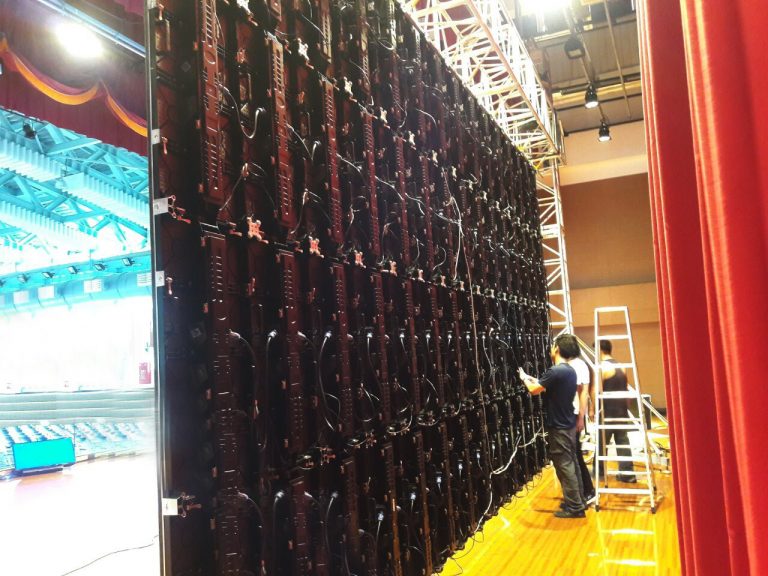
Step 2: Assemble LED Cabinets
Rental LED displays use modular cabinets that connect quickly through locking mechanisms.
Cabinet Installation Process
- Start from the bottom row.
- Connect adjacent cabinets using quick locks.
- Ensure each cabinet aligns precisely.
- Continue building row by row.
- Check screen flatness regularly.
Accurate alignment is critical because even small gaps can affect image quality and screen appearance.
Step 3: Connect Power Cables
After the cabinets are assembled, connect the power system.
Power Connection Guidelines
- Follow the manufacturer’s wiring diagram.
- Use certified power cables.
- Avoid overloading a single power circuit.
- Ensure proper grounding.
- Verify all connections before energizing the system.
A stable power supply helps maintain display performance and reduces the risk of equipment damage.
Step 4: Connect Signal Cables
Signal transmission enables the LED display to receive video content from the control system.
Signal Connection Steps
- Connect receiving cards inside each cabinet.
- Link cabinets using data cables.
- Connect the sending card to the video processor.
- Connect the processor to the media source.
Double-check cable routing to avoid loose connections or signal interruptions during operation.
Step 5: Configure the LED Control System
Once hardware connections are complete, configure the LED display software.
Configuration Tasks
- Screen mapping
- Cabinet arrangement settings
- Resolution configuration
- Brightness adjustment
- Refresh rate settings
- Color calibration
Proper configuration ensures seamless image presentation across the entire display.
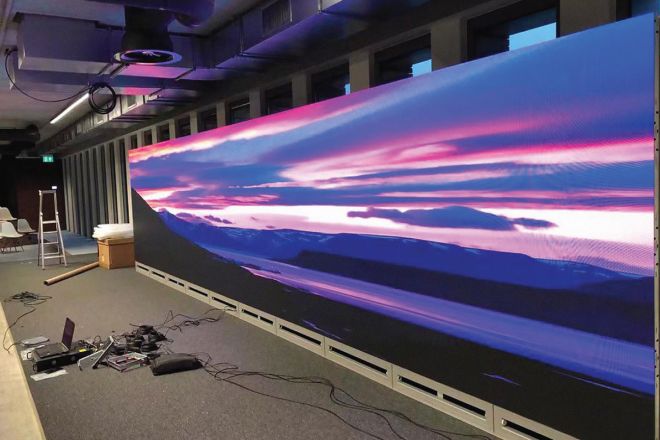
Step 6: Perform Screen Testing
Before the event begins, conduct comprehensive testing.
Testing Checklist
- Power-on inspection
- Full-screen color testing
- Gray scale testing
- Video playback testing
- Signal redundancy verification
- Brightness and contrast adjustment
Inspect the display for dead pixels, color inconsistencies, or abnormal modules.
Step 7: Safety Inspection
A final safety review is essential before operation.
Safety Checklist
- Verify all cabinet locks are secured.
- Inspect hanging points and support structures.
- Confirm safety ropes are installed.
- Check power grounding.
- Ensure cable management is organized.
- Remove installation tools and obstacles.
Compliance with local safety regulations is highly recommended.
Common Installation Mistakes to Avoid
Many installation issues can be prevented with proper planning.
Misaligned Cabinets
Improper alignment can create visible gaps and affect display quality.
Poor Cable Management
Messy cables increase the risk of signal failure and safety hazards.
Insufficient Structural Support
An unstable structure may cause screen deformation or safety incidents.
Skipping System Testing
Failing to test the display before the event can lead to unexpected technical problems.
Tips for Faster Rental LED Display Installation
Professional rental companies often follow these best practices:
- Label all cables clearly.
- Use standardized installation procedures.
- Train technicians regularly.
- Perform pre-event equipment inspections.
- Maintain spare modules and accessories onsite.
These measures can significantly reduce setup time and improve reliability.
Conclusion
Installing a rental LED display requires careful planning, proper equipment, and strict attention to safety procedures. By following a structured installation process—from building the support structure and assembling cabinets to configuring the control system and conducting final inspections—you can ensure optimal display performance and a successful event.
Whether you are organizing a concert, trade show, corporate conference, or live production, a properly installed rental LED screen will deliver stunning visuals and a seamless viewing experience for your audience.
Frequently Asked Questions
What is the maximum height an LED screen can be safely hung?
For most standard aluminum die-cast rental cabinets, manufacturers specify a maximum hanging limit of 15 to 20 cabinets vertically(approximately 7.5 to 10 meters in height). Hanging beyond this limit puts immense tensile stress on the top cabinets’ frames and locks, which can lead to structural failure. Always consult the engineering data sheet of your specific cabinet model.
How do you handle wind resistance when installing rental LED displays outdoors?
Wind load is the number one hazard for outdoor rental stages. If you are ground-stacking, you must use heavy sandbags or concrete blocks on the base frame and secure the rear scaffolding with wind-bracing straps. If you are using an outdoor truss, ensure the truss itself is anchored to ground ballasts. For high-wind environments, it is highly recommended to use mesh rental LED displays, which allow wind to pass through the screen, drastically reducing wind resistance.
Can one person install a rental LED display alone?
While modern quick-lock systems allow a single technician to easily swap a module or a single cabinet, erecting a full-scale video wall requires a team. At minimum, a 3-person crewis optimal: two technicians lifting and locking the panels on the structure, and one ground-handler safely unboxing panels from the flight cases and inspecting them for corner damage.